Work with data sources
Overview
Claris Studio allows you to work with native Claris Studio tables and external FileMaker Server
Note Only FileMaker Server 2025 (version 22.0.1 or later)
Requirements
FileMaker Pro
-
An account with the OData (fmodata) extended privilege enabled.
See Editing FileMaker file accounts and Editing extended privileges for a privilege set in FileMaker Pro Help.
Note To add or edit fields of a FileMaker data source table in Claris Studio, an account must be Full Access. See Privilege set capabilities for FileMaker data sources for more details. When you're ready for production, we recommend changing the account to Data-Entry Only to prevent unauthorized access to apps and schema.
FileMaker host
-
The host must:
-
Use FileMaker Server 2025 (version 22.0.1 or later)
-
Be publicly accessible.
-
Have a valid Secure Socket Layer (SSL) certificate.
-
Have OData enabled.
Go to FileMaker Server
-
Have Filter databases in client applications enabled.
Go to FileMaker Server
-
For FileMaker Cloud, you must be a licensed user.
A licensed user is a Claris ID or external IdP user who is covered by the current team's User License. A licensed user is assigned a team license by a manager of the current team.
-
See Hosting databases and Securing your data in FileMaker Server Help, and Requesting an SSL certificate in the FileMaker Server Installation and Configuration Guide.
For FileMaker Cloud, see Encrypting and uploading database files in FileMaker Cloud Help.
Creating new data sources
From the Data Sources tab, click + Create New, then choose from two options:
-
Create New Claris Studio Table - Creates a native Claris Studio table and takes you directly to the table view.
-
Create New Data Source - Connects to an external FileMaker data source.

Creating a new FileMaker Server data source
To connect to a FileMaker Server host and create a new data source:
-
Click + Create New, then click Create New Data Source
-
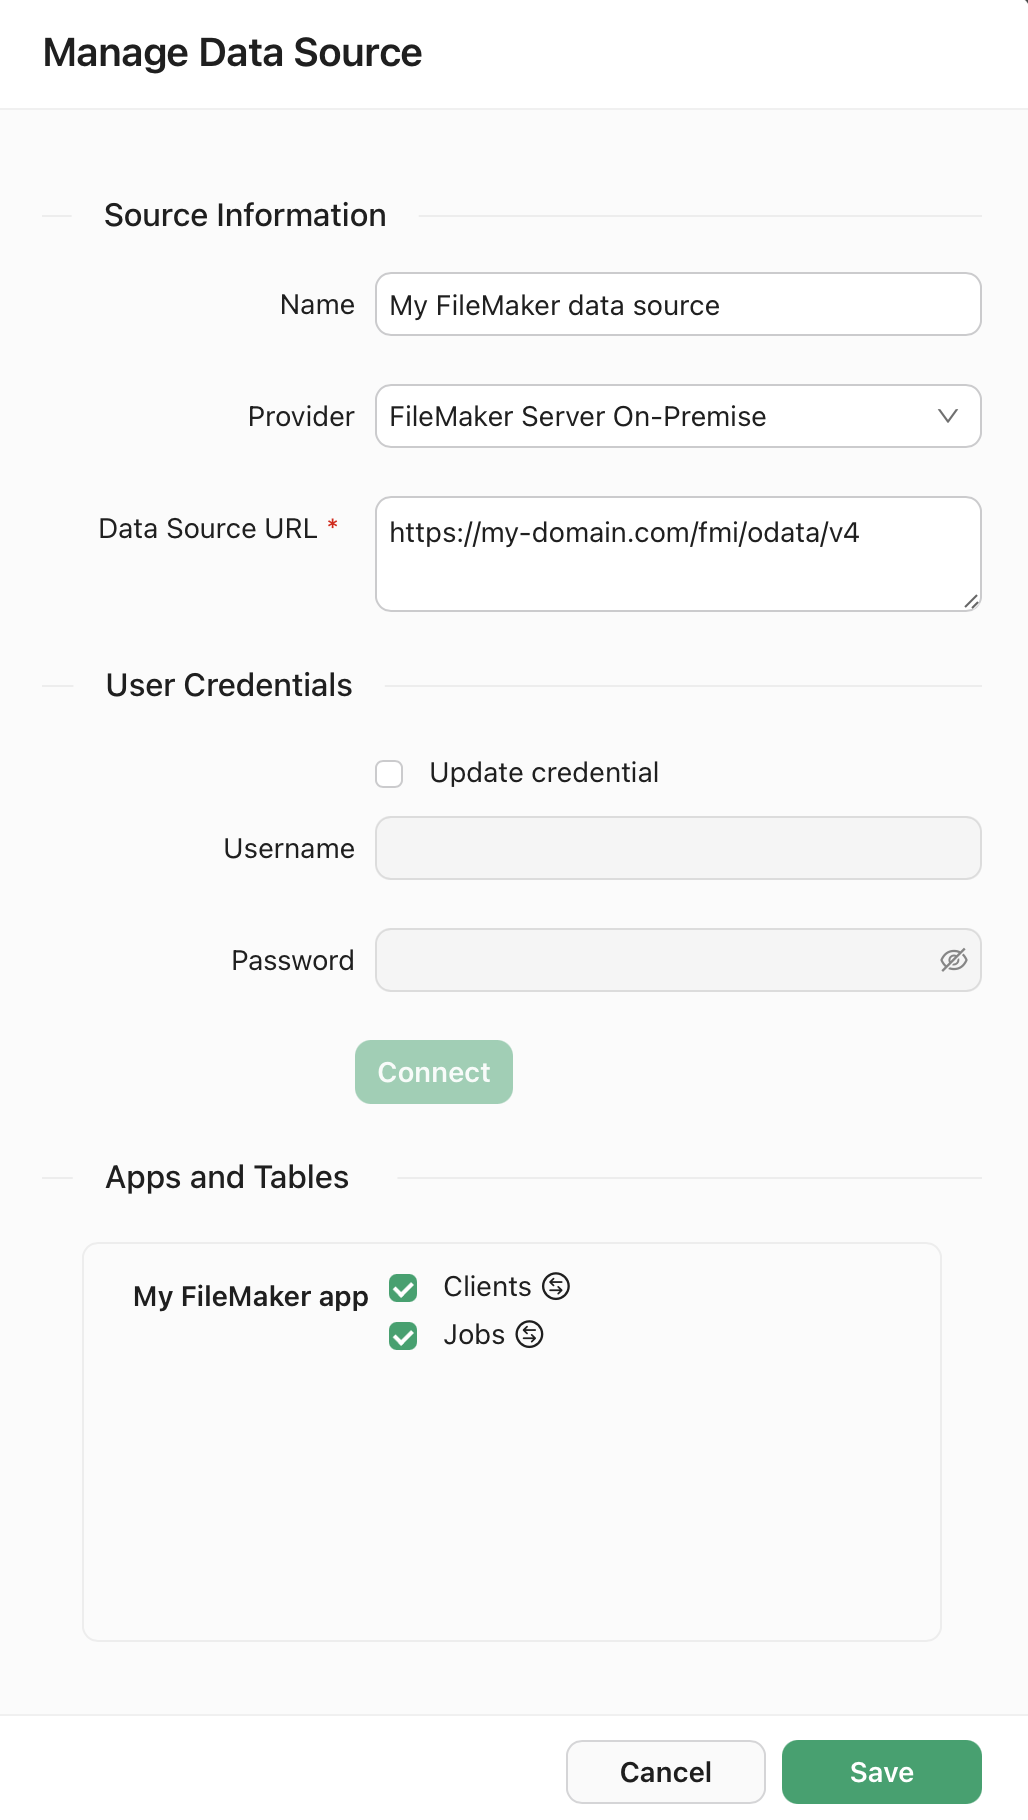
Provide the following information:
-
Name - A descriptive name for your data source.
-
Provider - Select FileMaker Server On-Premise.
-
Data Source URL - The OData endpoint URL of your FileMaker Server instance.
-
User Name - A valid FileMaker file account with appropriate access privileges.
Note Use a FileMaker Pro file account, not a FileMaker Server Admin Console account.
-
Password - The password for the specified account.
-
-
Click Connect.
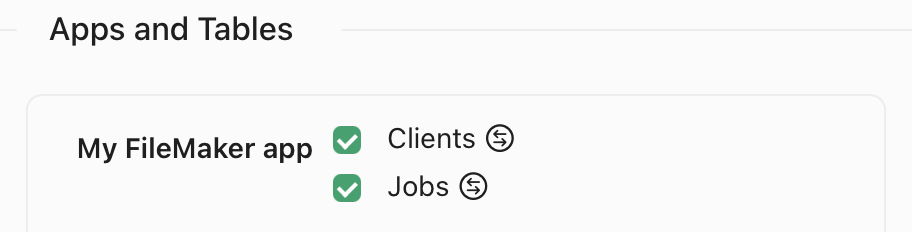
After you click Connect, you will see a list of apps and tables from those apps. The user credentials you use to connect to the data source determine what apps and tables you see.
-
Select the tables from the FileMaker apps you want to access in Claris Studio.
-
To adjust the mapping of fields between the existing FileMaker table and the linked Claris Studio table, click
 .
.
-
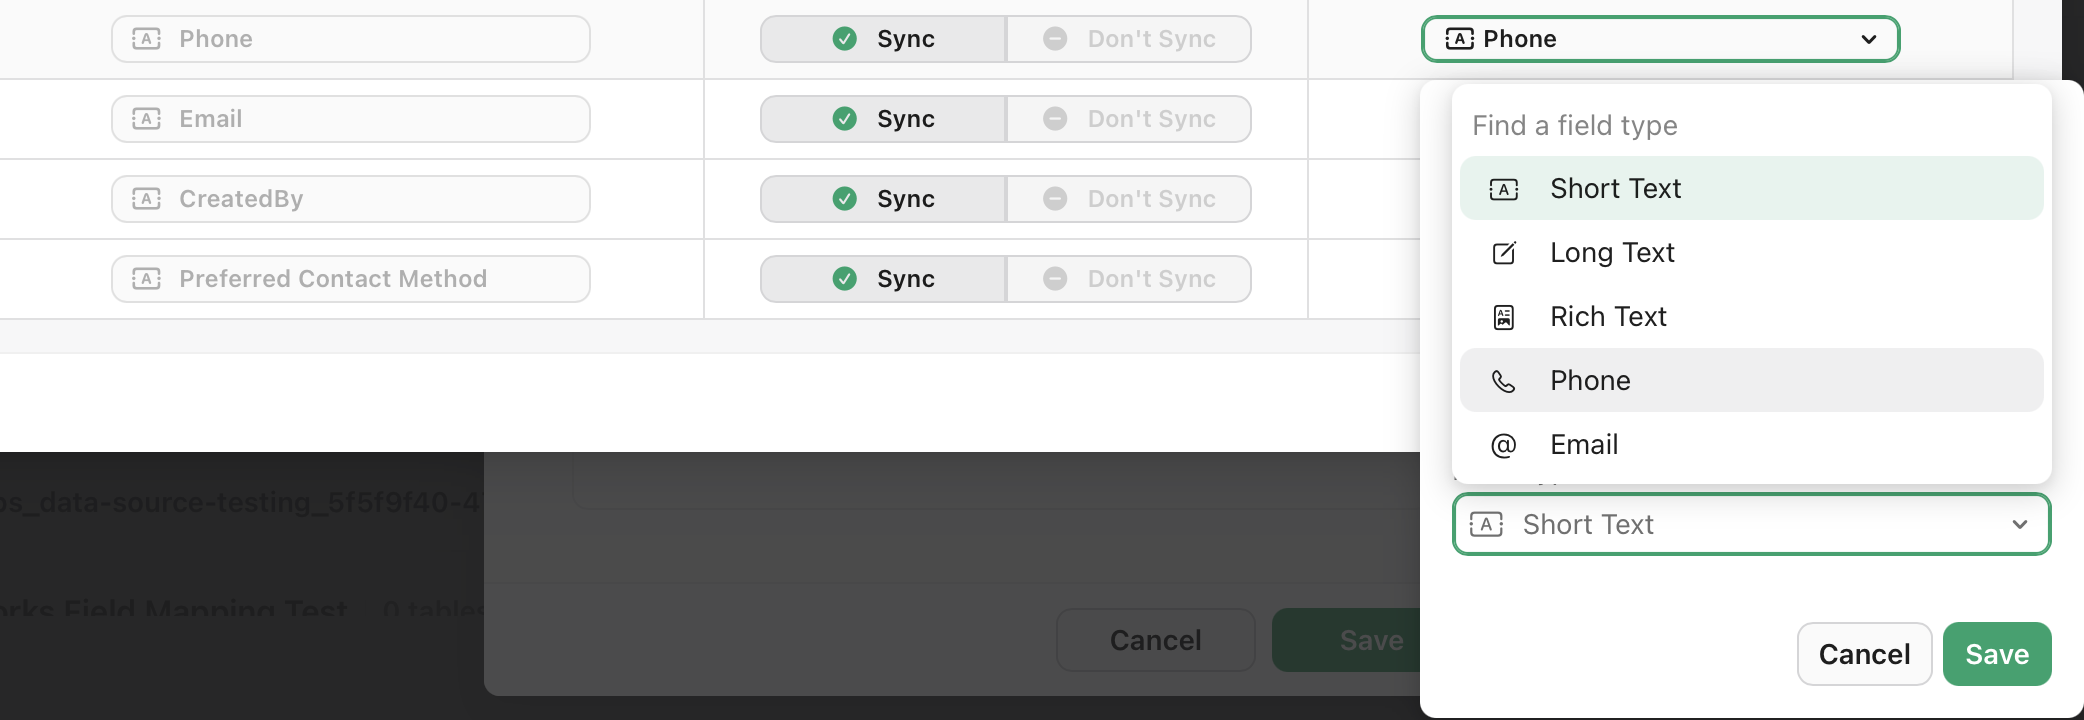
In the Configure Field Mappings dialog, you can set which fields you want to import from the source as well as change the field type of the target field.
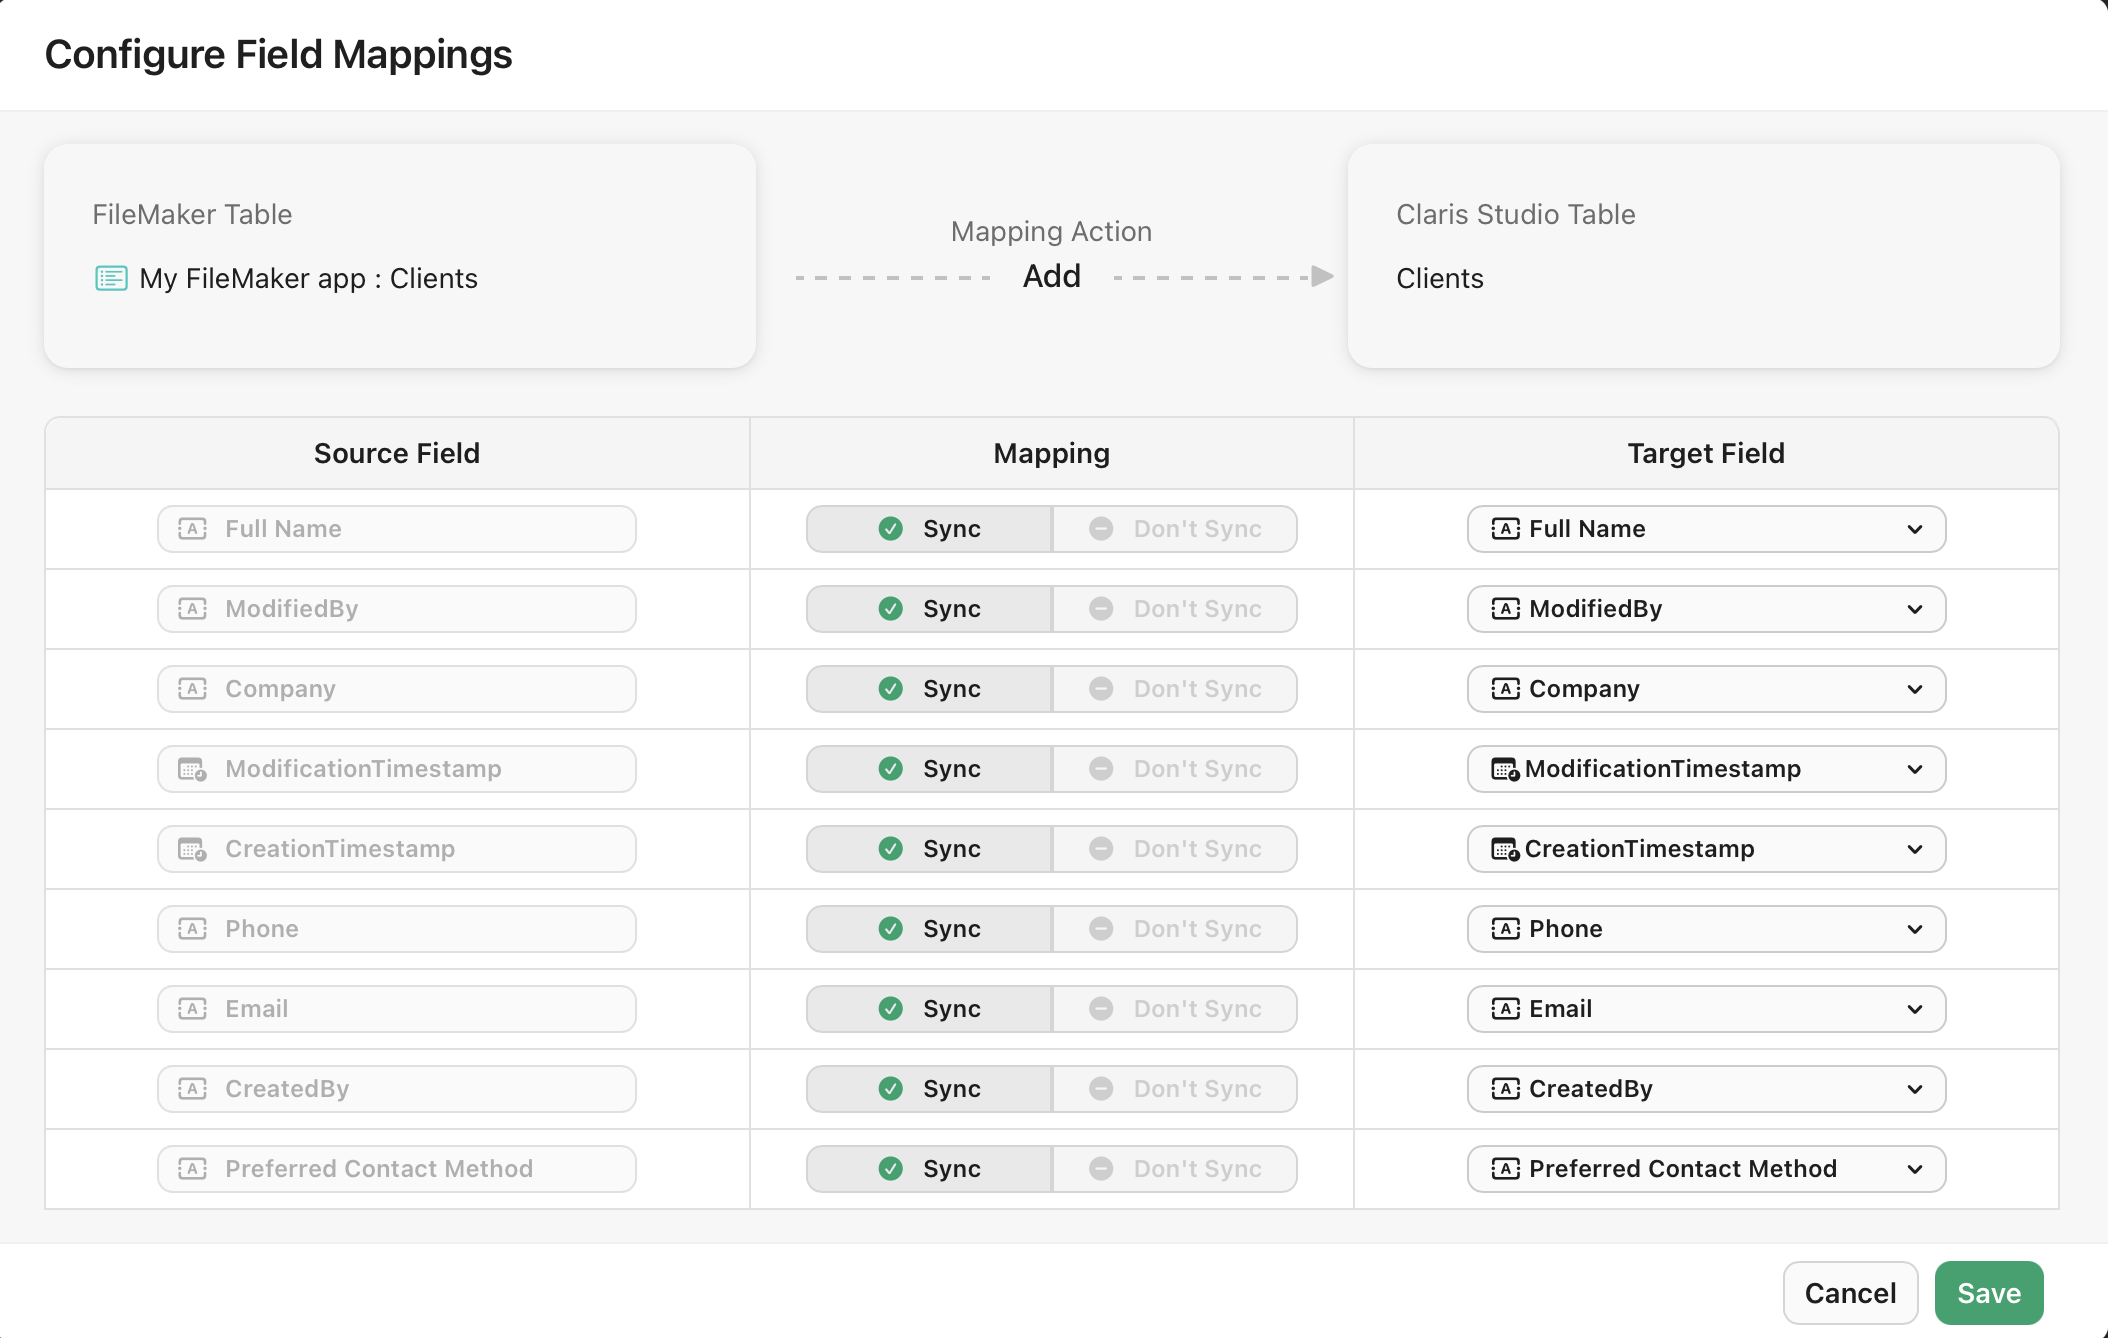
For example, the Phone field in FileMaker may have been stored as a text field, so you can change the field type to the more appropriate Phone field available in Claris Studio.
-
After you finish adjusting the imported fields, click Save to close the mapping dialog, then click Save again to complete the connection.
After you complete the connection, you will see a new section on the Data Sources page with the name of your data source with the tables you selected from the source underneath.
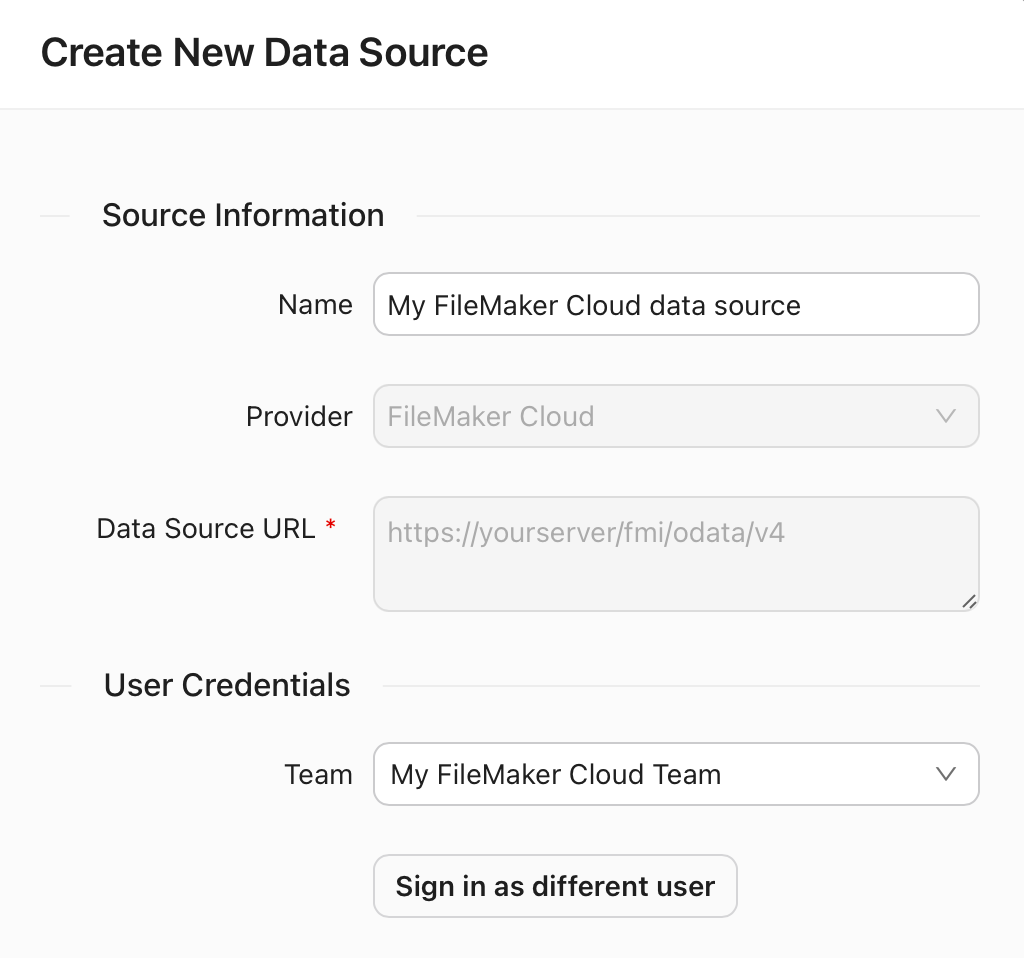
Creating a new FileMaker Cloud data source
To connect to a FileMaker Cloud host and create a new data source:
-
Click + Create New, then click Create New Data Source
-
Provide the following information:
-
Name - A descriptive name for your data source.
-
Provider - Select FileMaker Cloud.
-
-
Sign in with your Claris ID using the pop-up.
After you sign in, you will see a list of apps and tables from those apps.
-
If you are a member of more than one team, select the appropriate Team.
The user credentials and team you use to connect to the data source determine what apps and tables you see.
-
Select the tables from the FileMaker apps you want to access in Claris Studio.
-
To adjust the mapping of fields between the existing FileMaker table and the linked Claris Studio table, click
.
-
In the Configure Field Mappings dialog, you can set which fields you want to import from the source as well as change the field type of the target field.
For example, the Phone field in FileMaker may have been stored as a text field, so you can change the field type to the more appropriate Phone field available in Claris Studio.
-
After you finish adjusting the imported fields, click Save to close the mapping dialog, then click Save again to complete the connection.
After you complete the connection, you will see a new section on the Data Sources page with the name of your data source with the tables you selected from the source underneath.
Accessing data sources
The Data Sources tab provides a central location to manage all your data connections, whether they are native Claris Studio tables or external FileMaker data sources.
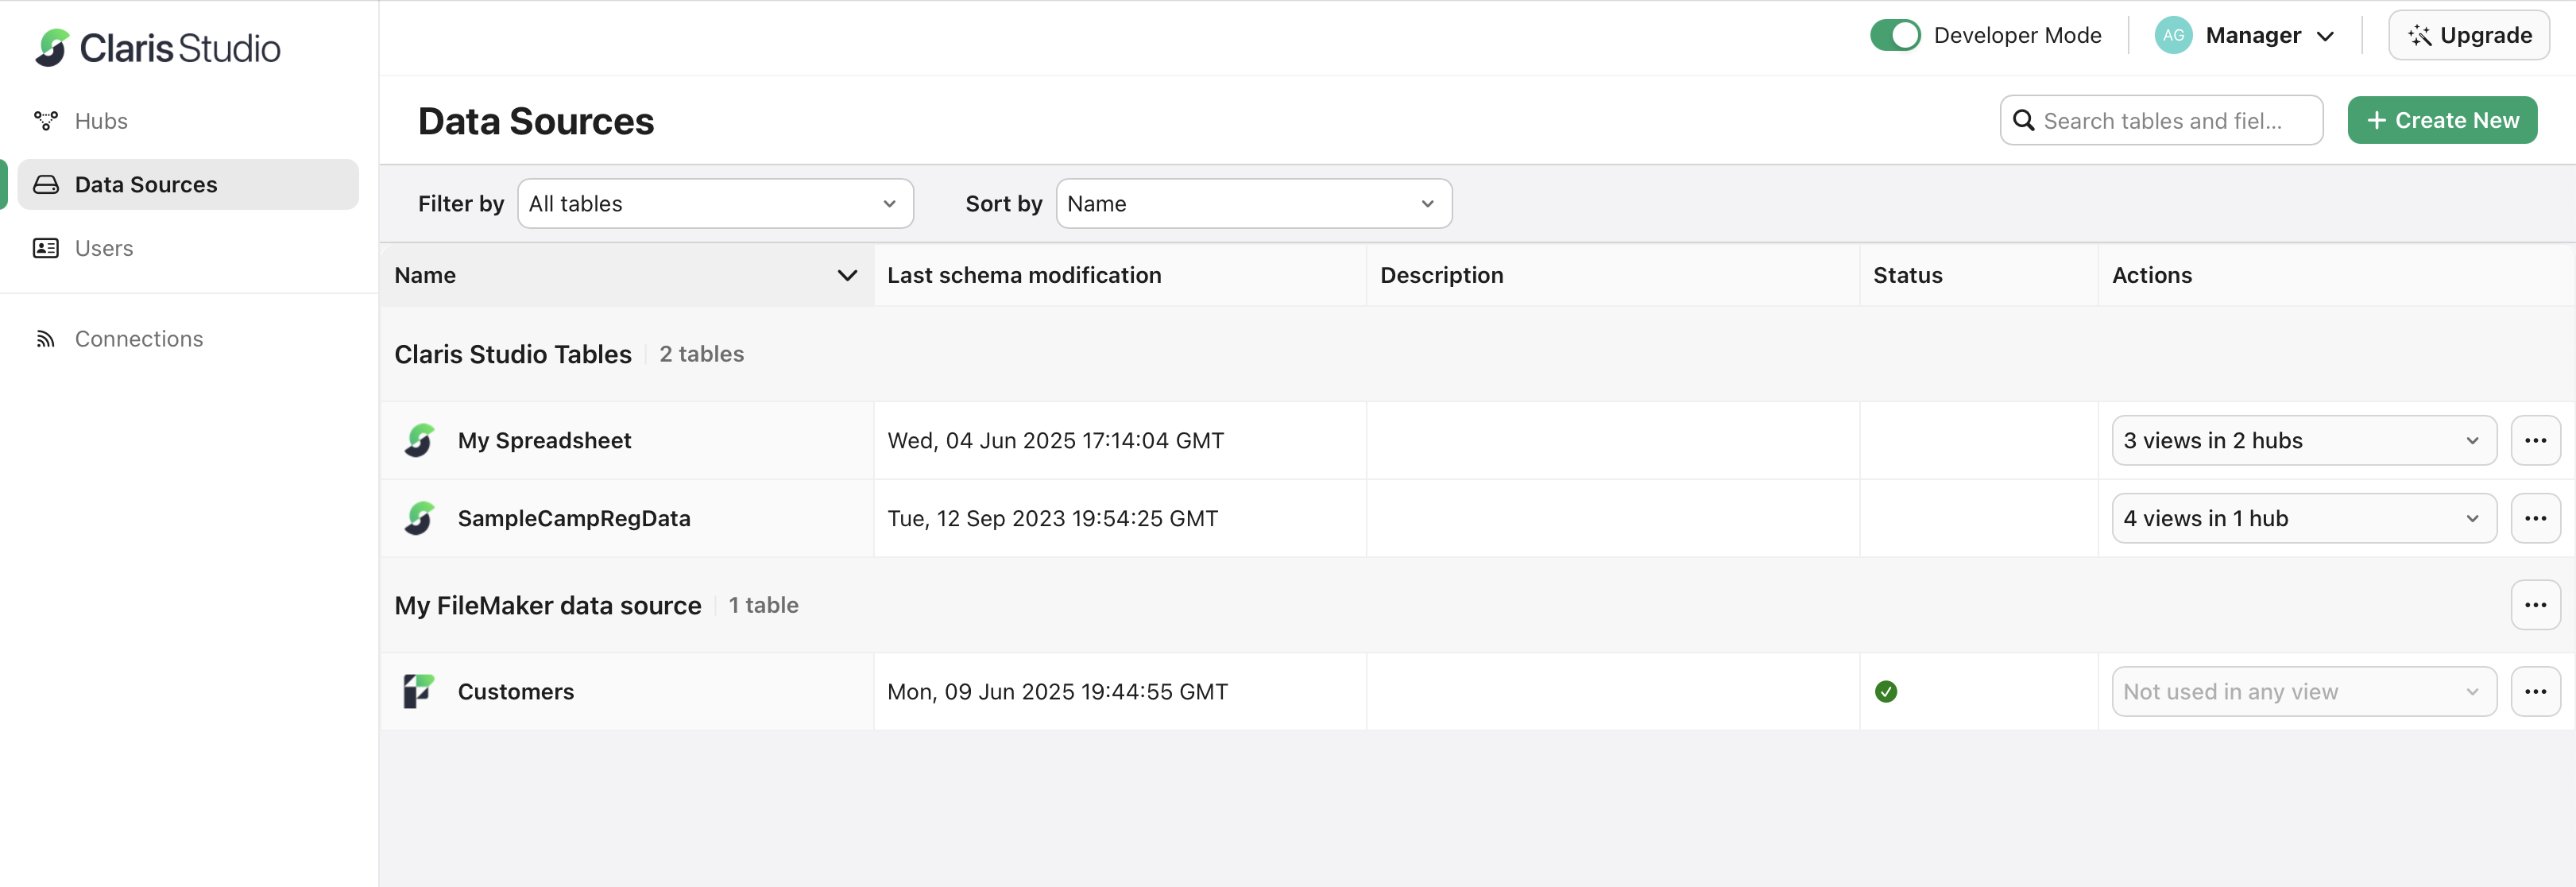
Managing data sources
The Data Sources page displays all your tables organized by their source:
-
Claris Studio Tables - Native tables created within Claris Studio.
-
[FileMaker Data Source Names] - Tables from connected FileMaker data sources, organized by the name of the data source.
Table management features
For each table, there are five columns:
-
Name - The name of the table.
-
Last schema modification - The timestamp of the last time the table schema was modified.
Note This column indicates when the schema was modified, not when a new record was added.
-
Description - The description of the table
-
Actions - The views and hubs the table is associated with, and the
 menu, which has further options (see below).
Additionally, you can
-
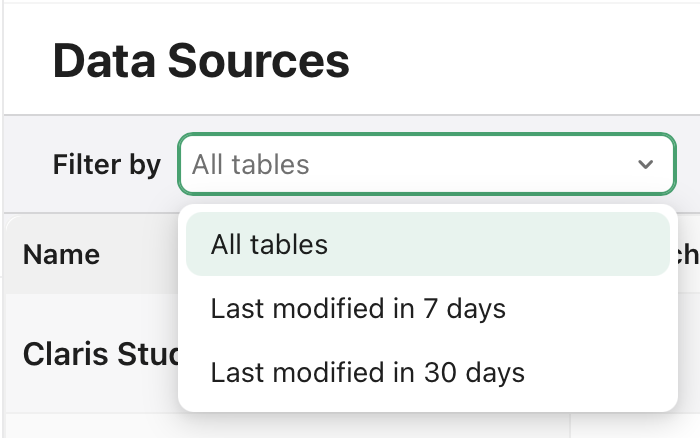
Use the Filter by field with the following options:
-
All tables
-
Last modified in 7 days
-
Last modified in 30 days
-
-
Use the Sort by field with the following options:
-
Name
-
Last schema modification
-
Description
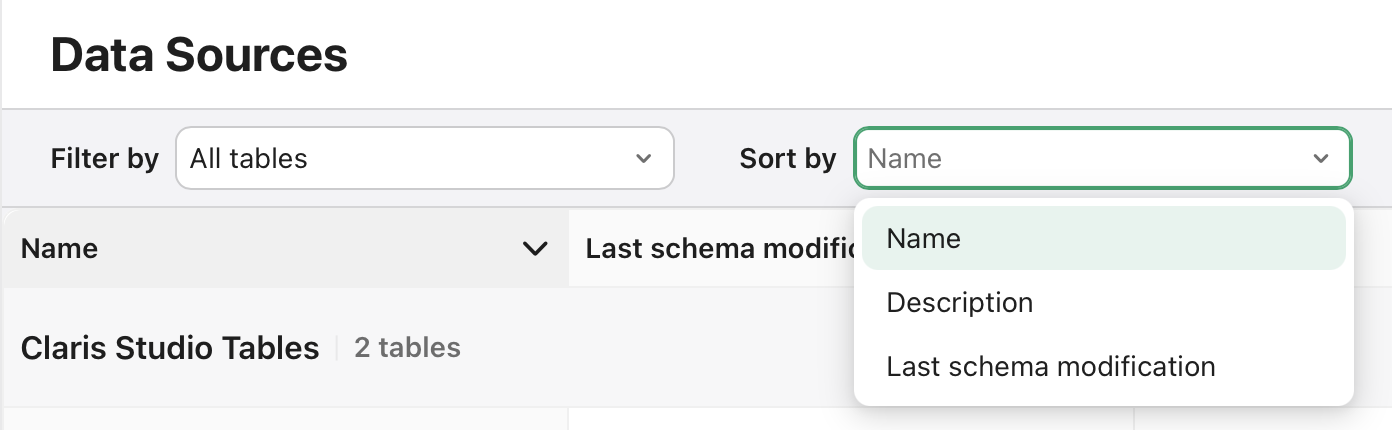
Note You can also click these columns to sort tables.
-
Actions menu options
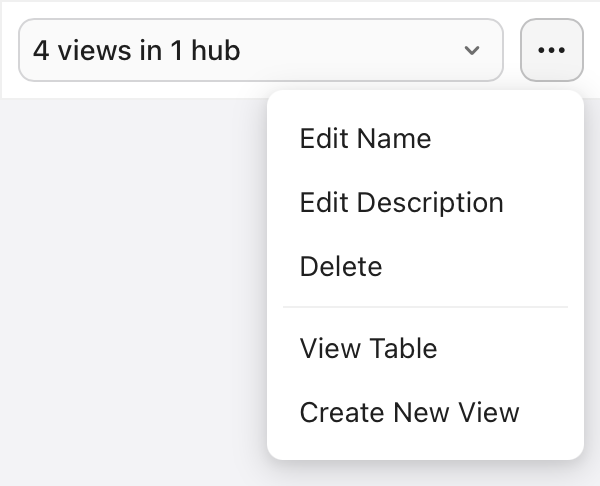
Click the menu next to a table or FileMaker data source for the following options:
-
For Claris Studio tables
-
Edit Name - Change the display name of the table.
-
Edit Description - Add or modify the table description.
-
Delete - Remove the table or connection.
Note If the table is used in one or more views, you must delete those views first before you can delete the table.
-
View Table - Open the table to view and edit its data.
-
Create New View - Create a new view based on this table.
-
-
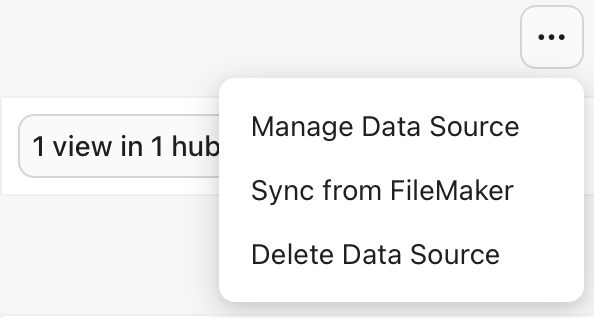
For FileMaker data sources
-
Manage Data Source - Update source information, user credentials, and apps and tables.
-
Sync from FileMaker - Re-syncs data from the FileMaker data source to Claris Studio.
Important This action completely remakes the connection between FileMaker and Claris Studio and will destroy any recent changes in Claris Studio that have not made it to FileMaker, for example because of network issues or the host going offline. Use this action with caution.
-
Delete Data Source - Disconnect the data source from Claris Studio.
Note Deleting a data source here only removes it from Claris Studio—it does not affect the actual FileMaker source. Views created with tables from a deleted source will still exist, however they will no longer be connected to the FileMaker data source and can no longer be synced.
-
-
For FileMaker data source tables, the options are the same as for Claris Studio tables. However, instead of being able to Delete tables, you can only Remove them. When you remove a connected FileMaker table, it becomes an unlinked table and appears under the Claris Studio Tables section.
Working with FileMaker data in Claris Studio
After being connected, you can use FileMaker data in Claris Studio just as you would use native Claris Studio tables. This integration allows for seamless data sharing between FileMaker Pro apps and Claris Studio.
Notes
-
Up to 250k records can be imported from FileMaker data sources at a time. However, changes or updates to tables with more than 250k records will not be synced.