Control record access with data filters
Overview
Data filters in Claris Studio allows you to securely deliver record data to end users by matching a user field with the current user's information. This powerful security feature ensures end users only see and access records explicitly assigned to them, enhancing both privacy and data security.
Why use data filters?
Data filters enable you to create solutions with user-level access granularity where:
-
End users can only view, modify, and delete their own data.
-
Sensitive information remains protected through server-side filtering.
How data filters work in Claris Studio
Within each hub, you can configure access controls that filter what records users can access in tables based on matching attributes between the authenticated user's identity information such as email or user name.
Configuring data filters
Prerequisites
To configure data filters, you must have:
-
A Claris Studio hub with tables containing your solution's data.
-
Users invited to your team.
-
Fields in your tables that can be used to identify record ownership (
 email field or
  user field). To automatically determine the email or user name of signed in users:
-
For the
email field, set the Default Value to "Account Name".
-
For the
user field, set the Default Value to "Current User".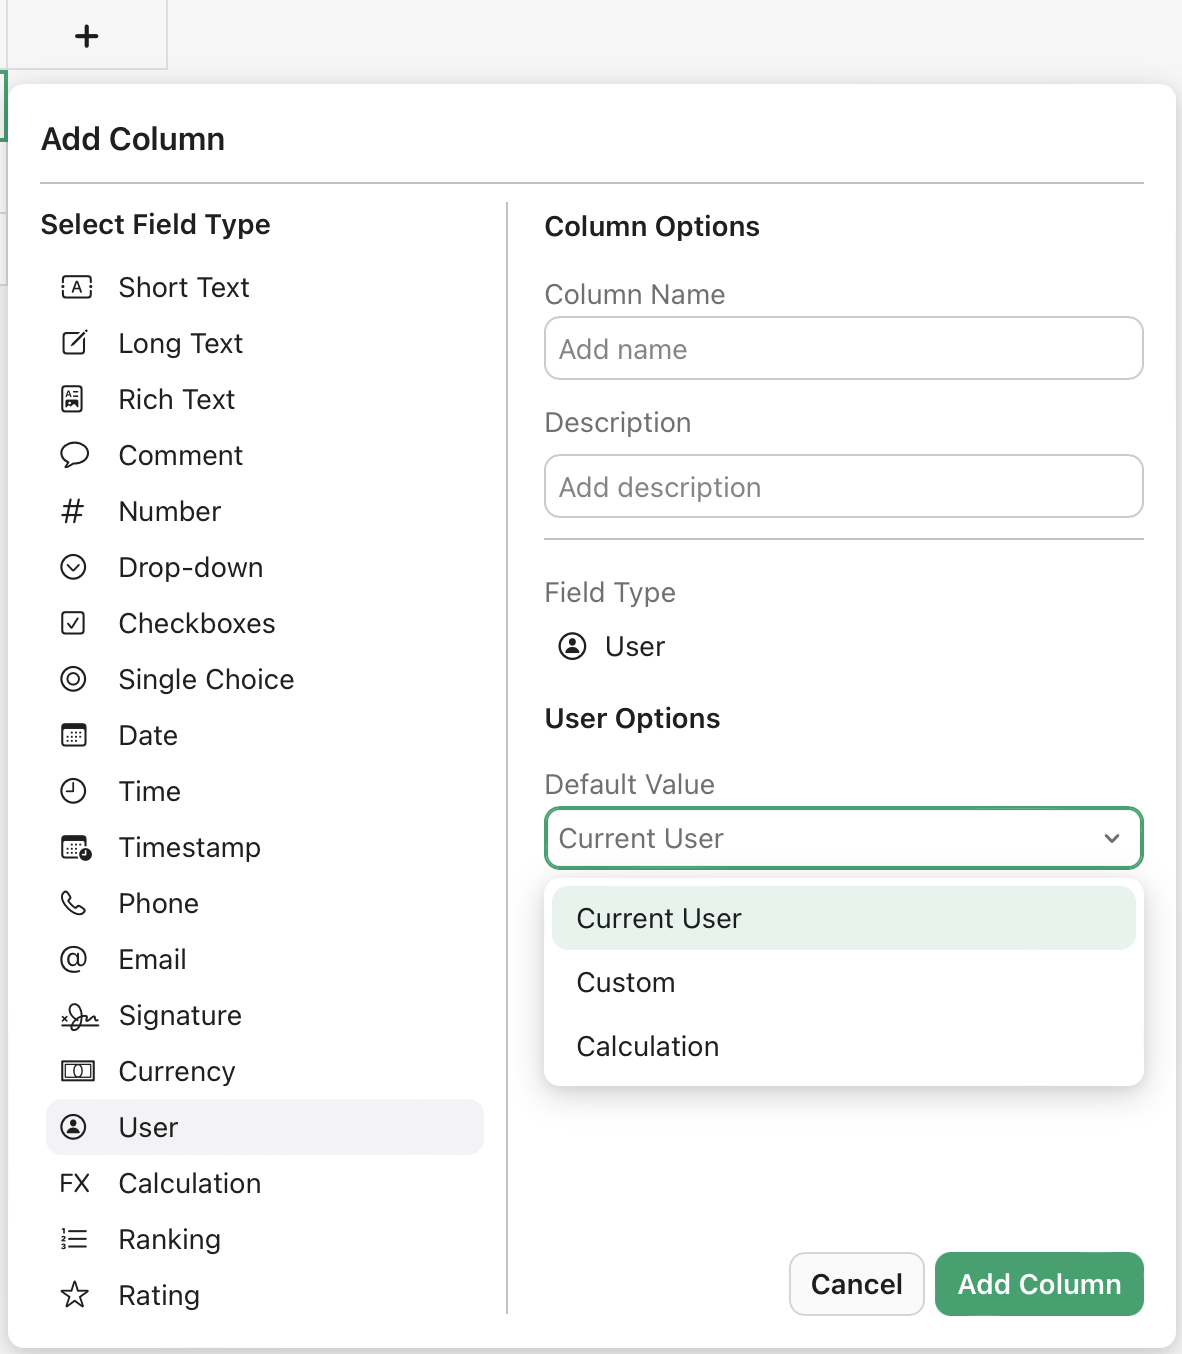
Note You can also manually enter values or use a calculation to determine the value for more advanced cases.
-
-
(Optional) User groups to control access at a higher level.
Configuration steps
-
Click
 in the top right corner of the hub for which you want to configure data filters.
 -
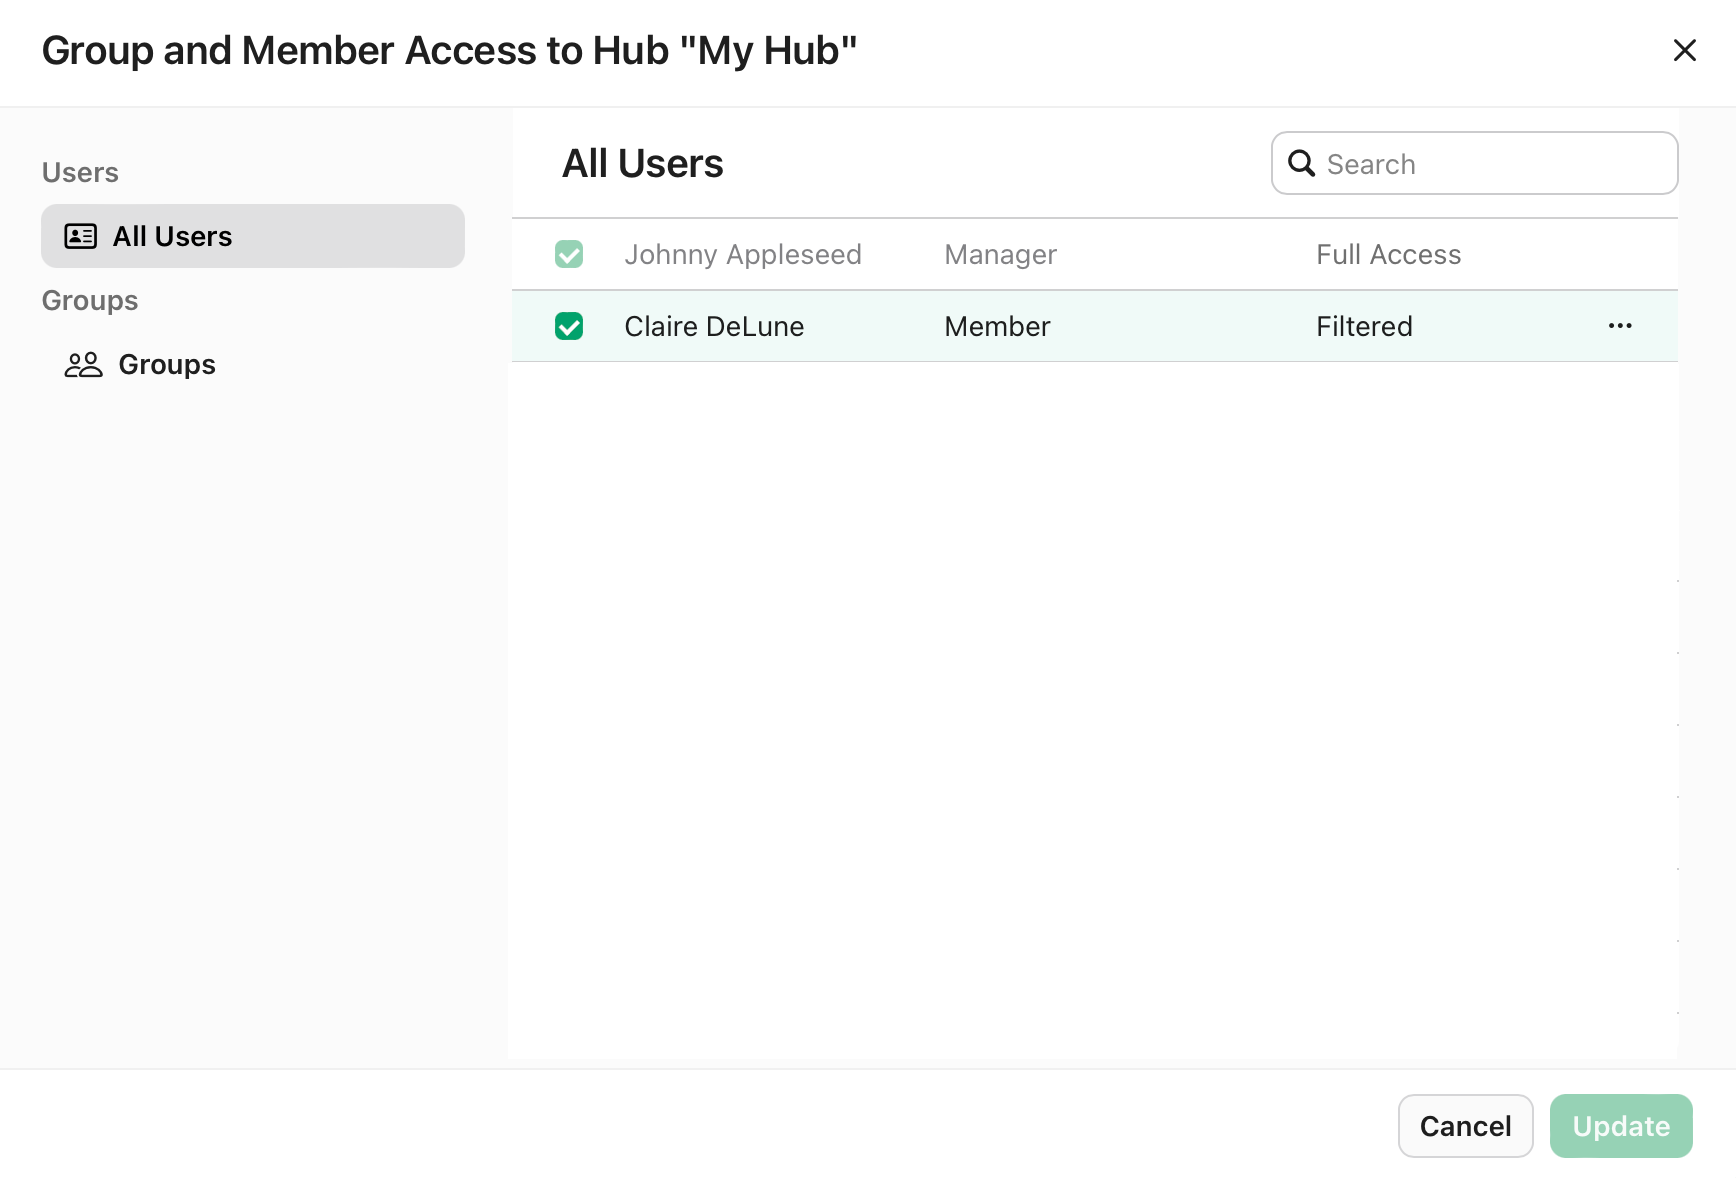
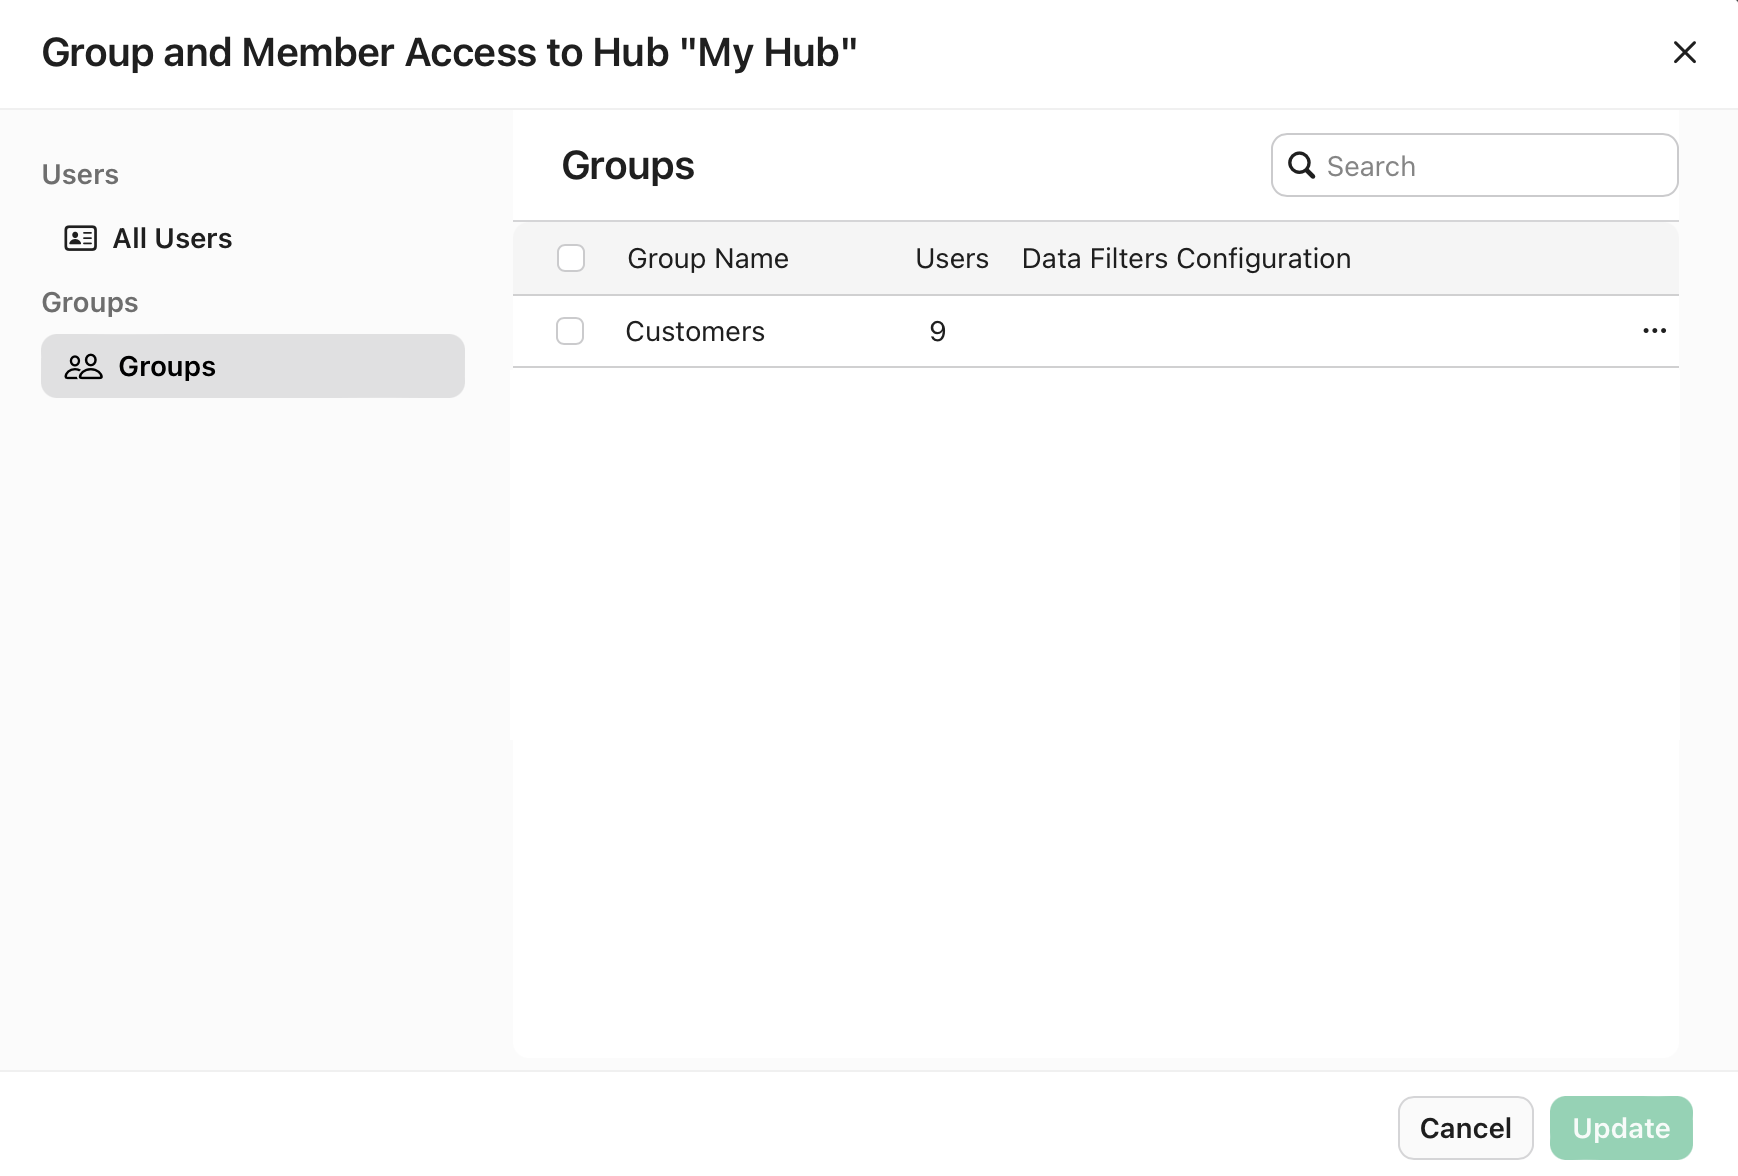
Use the All Users and Groups tabs to find the user or group you want, then click the checkbox to add them to the hub if they haven't been already.
-
Click
 in the row of the user or group, then click Configure Data Filters.
 -
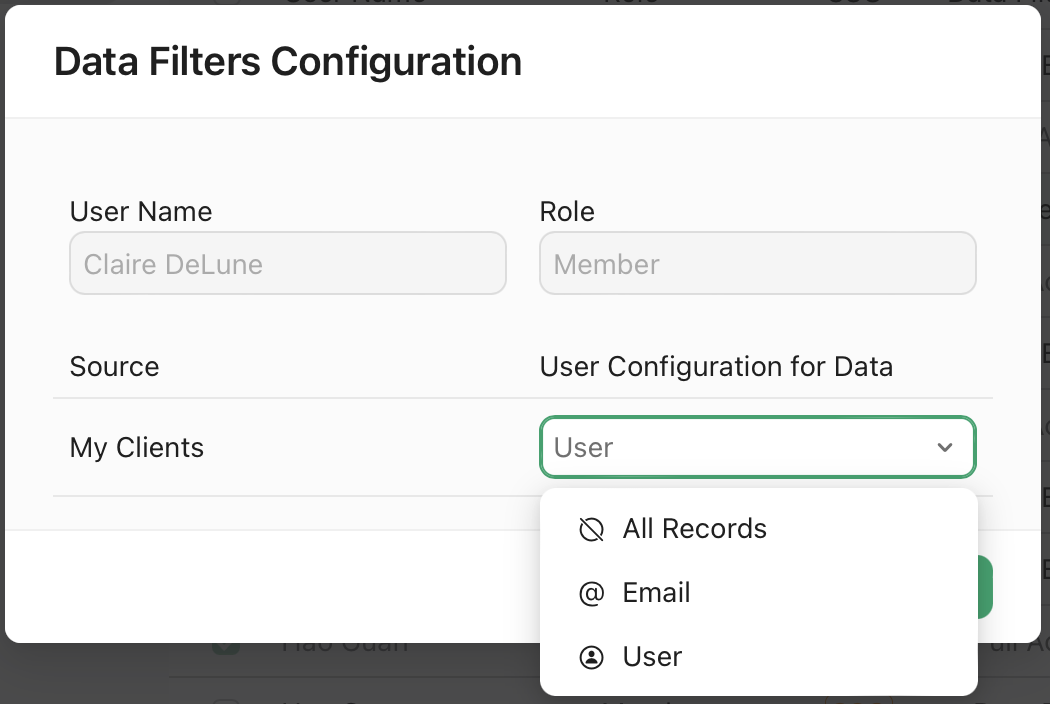
In the Data Filters Configuration dialog, find the table you want to control access to, then select one of the following options:
Note The Source column shows the table name, not the view name.
-
All Records - If you want the user or group to be able to see all records in the table.
-
Email - If you want the user or group to be able to see only records that match their email.
-
User- If you want the user or group to be able to see only records that match their user name.
Note The available options depend on whether fields above are present in the selected table.
-
-
Click Apply.
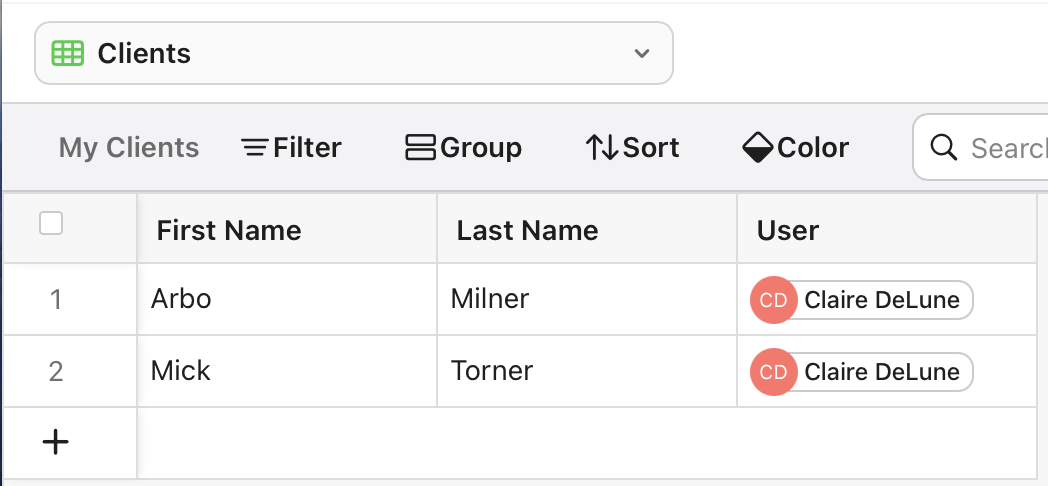
Now, when the user accesses views associated with the table configured for data filtering, they will only see records that they create and are associated with either their email or user name. In the screenshot below, the user "Claire DeLune" only sees two records in the Clients view, which was created from the My Clients table.
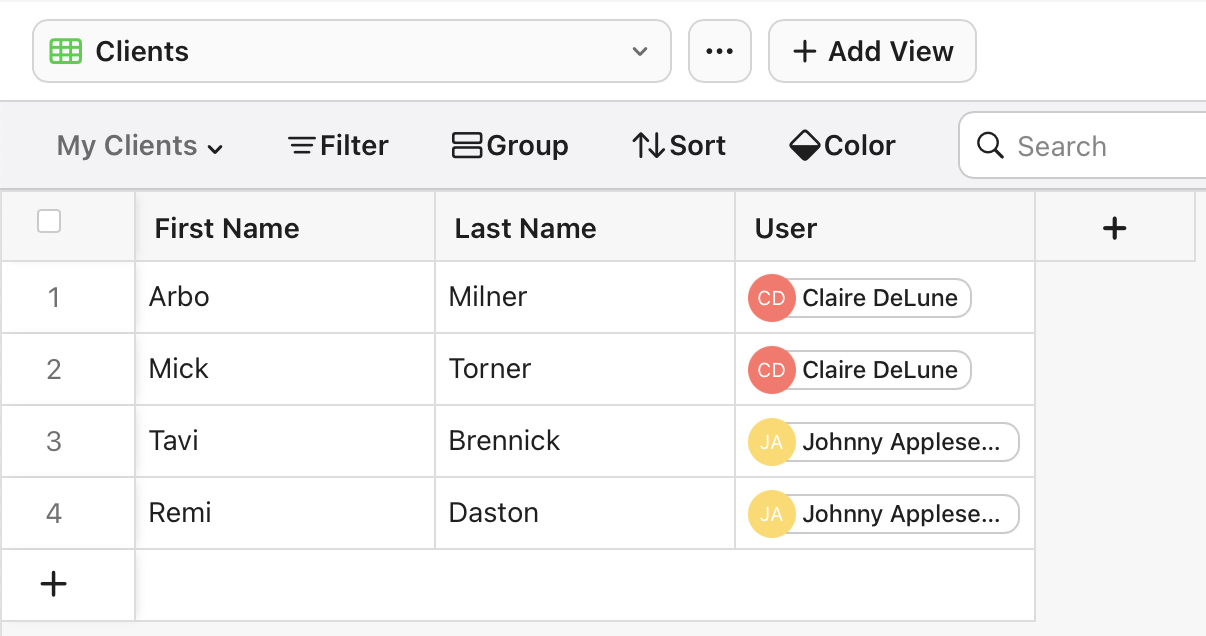
Whereas team manager "Johnny Appleseed" can see both his and other users' records.
Best practices
-
Always include a user identifier field in every table requiring secure access control.
-
Test your data filter configuration with multiple user accounts before deployment.
-
Document your security model for future reference and team knowledge sharing.
-
Regularly audit who has access to what data in your solution.
Troubleshooting
-
Users can't see any records - Verify the attribute field values exactly match user information.
-
Users see too many records - Check if your matching criteria is too broad or if records have duplicate identifiers.
-
User needs full access - Promote the user to team manager. By default, team managers have access to all hubs and records.